One idea we have is to use sound, every the arduino board is triggered by a certain amount of DB a projection would be started, to do this we could use Arduino to build a audio sensor similar to the one shown HERE the problem with thisis that the sound could be caused by other things, such as birds, or music from the clubs on Union Street, sound also means the car is passing so the animation will put off the drivers and we could be in trouble with the police!
For this idea I had a look at some code and what Aduino boards we needed.

The brick consists of a high sensitivity microphone and onboard Low Voltage Audio Power Amplifier. These measure the amplitude of sound in the environment. This data can then be used to start the effects on the screen, so in my case the storm starting on the screen.
The code for this would be very simple, it would just be a matter of telling the Arduino sensor that when the audio level reaches a certain level (eg 10DB so that normal ambient sounds do not effect the game) the animation starts.
I have written up a code for a device to display sound levels with Arduino but not to do anything with them, this would be the part I'd need with the device.
The code would be similar to this...
/* ****************************************************
Arduino Code
**************************************************** */
int analogValue;
int val;
void setup()
{
// start serial port at 9600 bps:
Serial.begin(9600);
}
void loop()
{
// read analog input
analogValue = analogRead(0);
// send values to processing
Serial.println(analogValue, DEC);
// pause for 10 milliseconds:
delay(10);
}
/* ****************************************************
Processing Code
**************************************************** */
// import the Processing serial library
import processing.serial.*;
// declare a font variable
PFont font48;
int linefeed = 10;
// Linefeed in ASCII
Serial myPort;
// The serial port
// value recieved from the serialport / arduino
int sensorValue;
// mapped value
float sensorValueMap;
// – - – - – - – - – - – - – - – - – - – - – - – - – - – - – - – - – - – - – - – - – Setup
void setup() {
myPort = new Serial(this, Serial.list()[0], 9600);
// read bytes into a buffer until you get a linefeed (ASCII 10):
myPort.bufferUntil(linefeed);
size (800, 600);
background (0);
//smooth();
//load font;
font48 = loadFont(“alask_48.vlw”);
textFont(font48);
}
// – - – - – - – - – - – - – - – - – - – - – - – - – - – - – - – - – - – - – - – - – Serial Event
void serialEvent(Serial myPort) {
// read the serial buffer:
String myString = myPort.readStringUntil(linefeed);
// if you got any bytes other than the linefeed:
if (myString != null) {
myString = trim(myString);
//println(myString);
// split the string at the commas
// and convert the sections into integers:
int sensors[] = int(split(myString, ‘,’));
// print out the values you got:
for (int sensorNum = 0; sensorNum < sensors.length; sensorNum++) {
//print(“Sensor ” + sensorNum + “: ” + sensors[sensorNum] + “\n”);
// sensor
sensorValue = sensors[0];
//sensorValueSmooth = sensors[1];
}
}
}
// – - – - – - – - – - – - – - – - – - – - – - – - – - – - – - – - – - – - – - – - – Draw a DB level viewer
void draw() {
// set the black background
background(0);
// run the displayText() function
displayText();
// map the received values
sensorValueMap = map(sensorValue, 0, 1024, 0, 800);
// draw a rectangle based on the variable sensorValueMap
rect (0, 100, width, sensorValueMap);
}
// – - – - – - – - – - – - – - – - – - – - – - – - – - – - – - – - – - – - – - – - – Display Text
void displayText() {
text(“Sensor Value”, 20, 80);
text(sensorValue, 450, 80);
}
// – - – - – - – - – - – - – - – - – - – - – - – - – - – - – - – - – - – - – - – - – Save image
void keyPressed(){
if(key==’s’)
saveFrame(“sound-######.png”);
}
//------------ end of code
Therefore we are now looking into the idea of using light sensors on the traffic lights, which when they turn red turn a switch (eg a 0 to a 1) and starts the video, the problem with this is that wireless receivers for Arduino are quite expensive, we are therefore looking into some solutions to this.
*Update*
Jon has come up with a great idea of using a fart machine as a wireless sensor, with a range of over 50 ft it would be perfect, whilst we were in NYC Jon started work with the machine, testing the range of it as a light sensor, now we just need to link that to the video somehow!
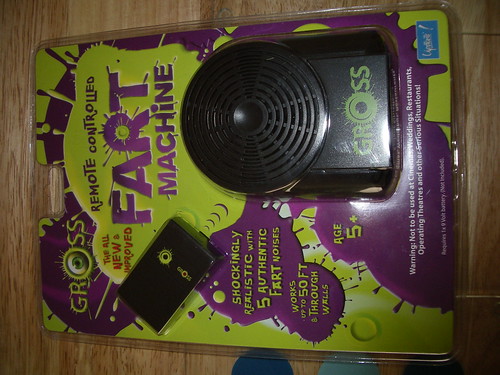
Jon toiling away with the Mrs...!
No comments:
Post a Comment